Finished them! Here is the whole project:
We had two different kinds of invitations: Full invitations and half invitations. (Total cost w/ postage was about $400-$500 for 150 invitations)
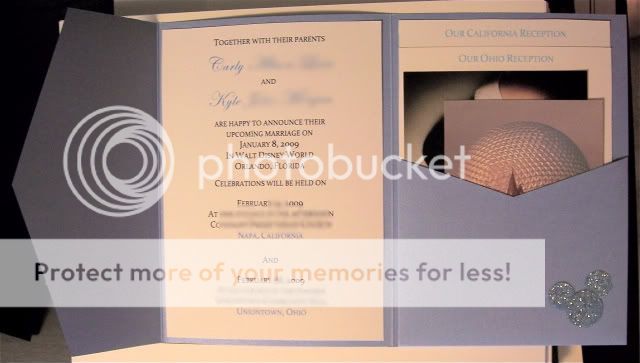
FULL INVITATIONS:
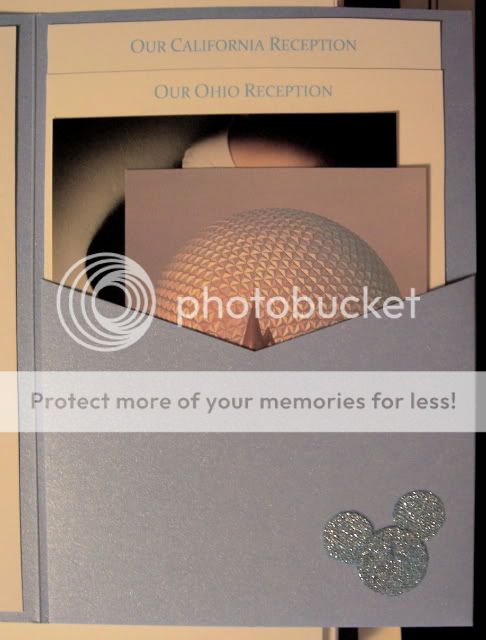
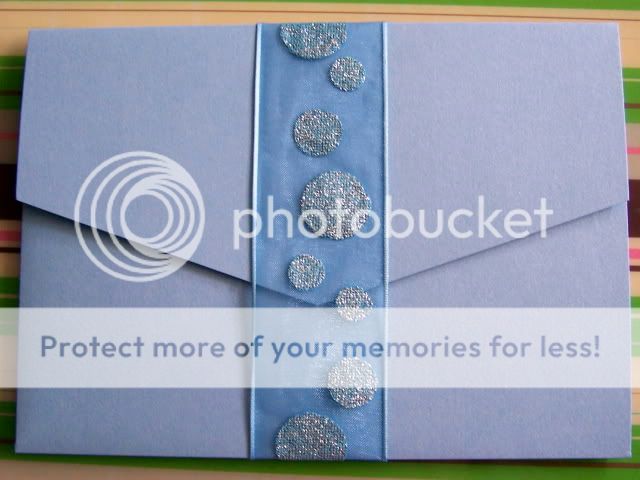
I got pearlized blue Envelopements 5 x 7 pocket folders from a local store here in Ohio. I strongly recommend that you order them over the internet if you can, because I think I got ripped off.
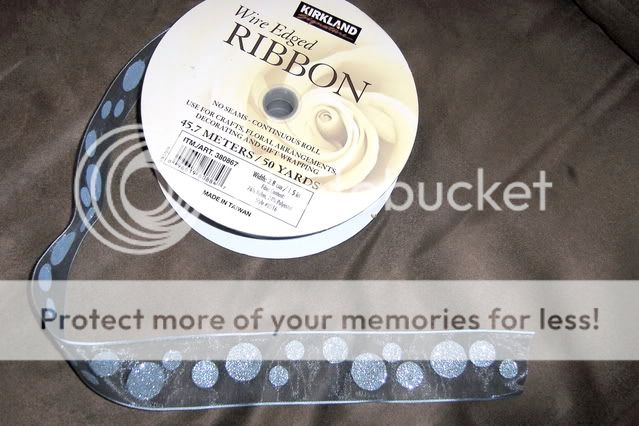
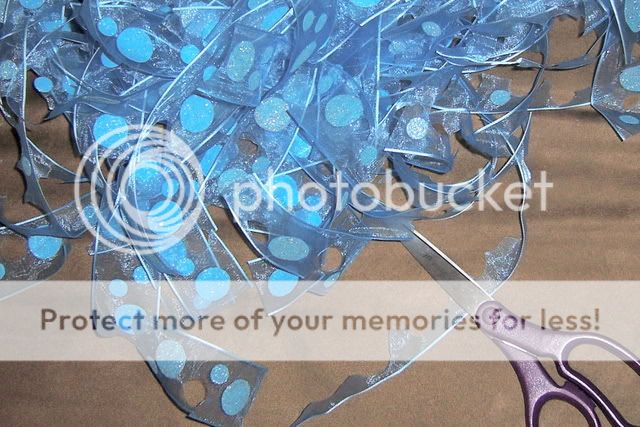
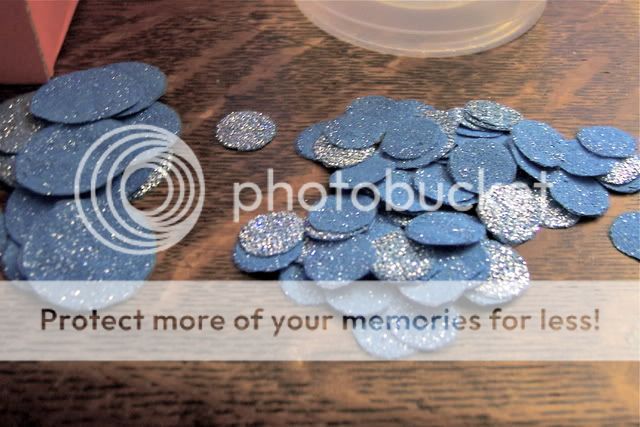
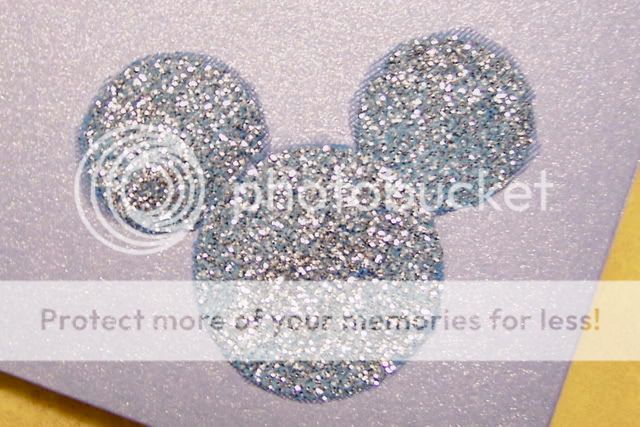
I made a Mickey head embellishment for each out of some ribbon I bought at Costco. I took a long time to cut out all those circles and glue them to the pocket folds, but I think it was worth it in the end.
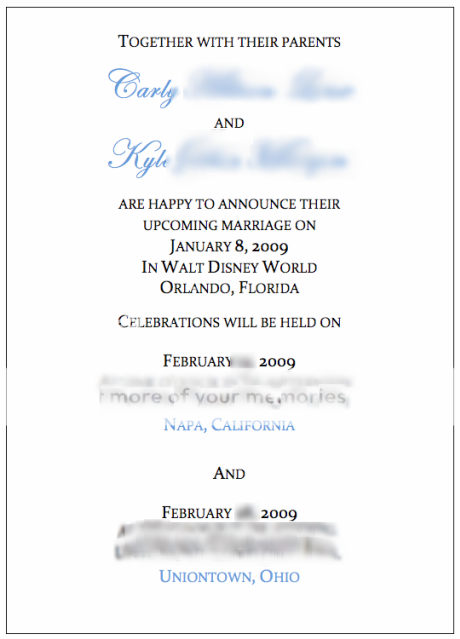
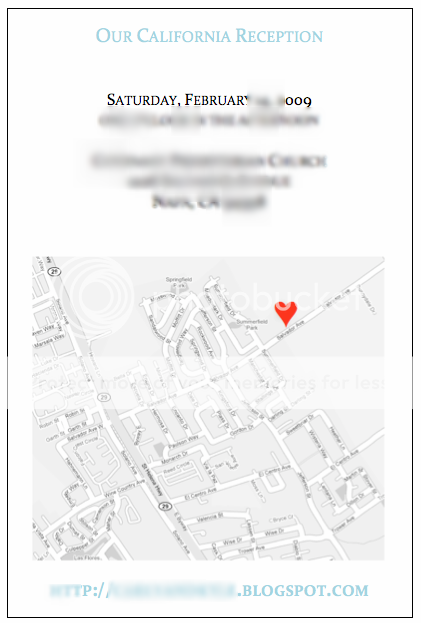
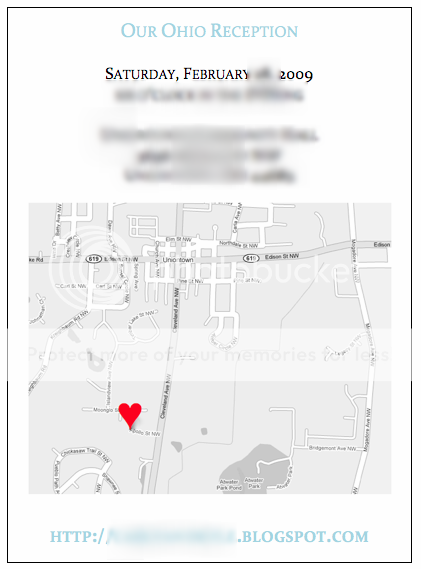
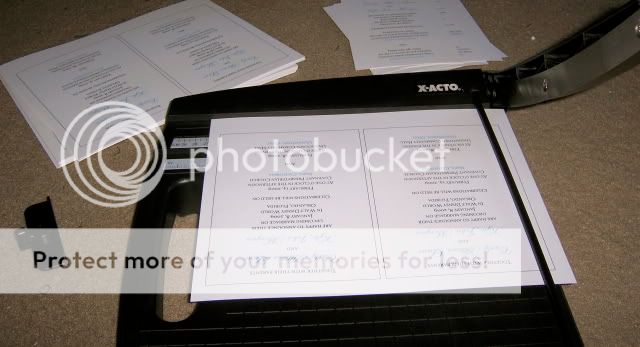
I made the actual invitation part and the reception cards for our two "at home" receptions in Microsoft Word and then printed them out on cream cardstock using our color printer.
I used Google Maps to make the maps on the reception cards.
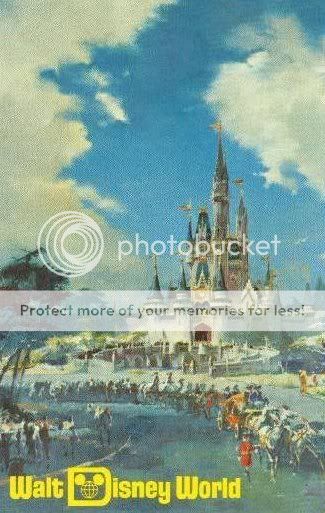
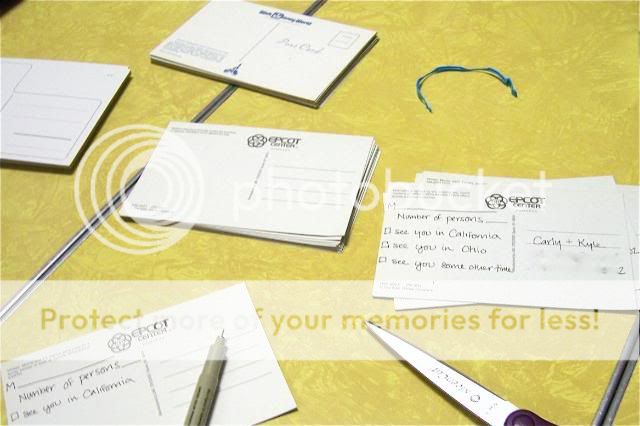
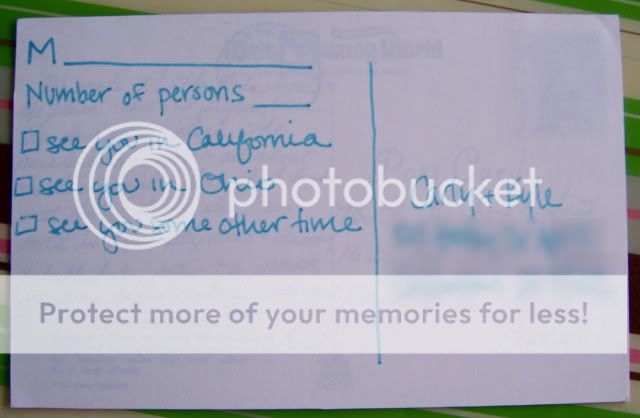
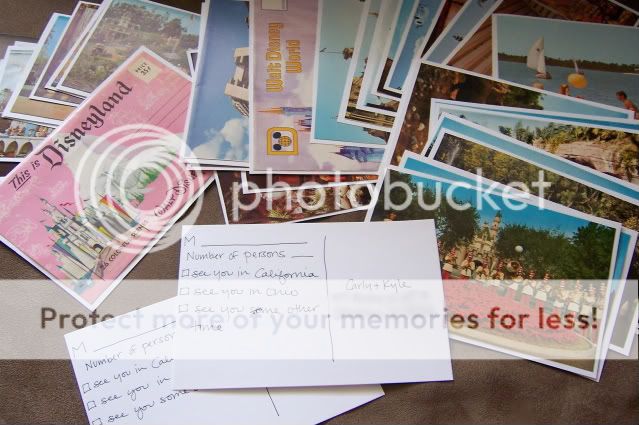
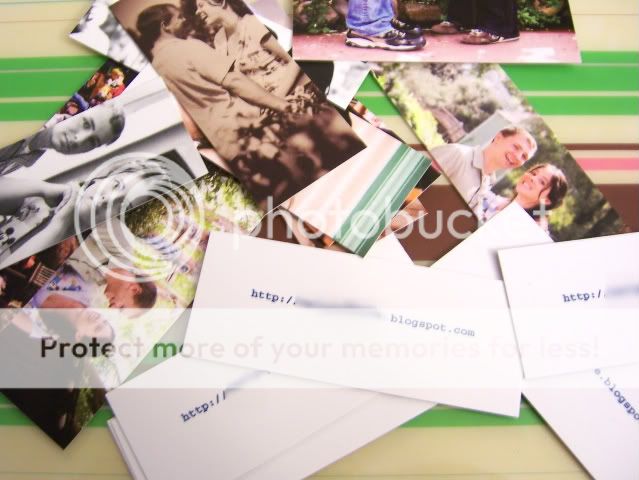
The RSVPS are vintage Disney postcards purchased off of eBay. I handwrote the RSVP on the back of each.
Most were blank but I covered up the ones that had writing on them by sticking them to a 8.5 x 10 label and trimming them.
I also had some of those postcard souvenir books that are just 26 color pictures and I trimmed them and glued them to cardstock to make RSVPS.
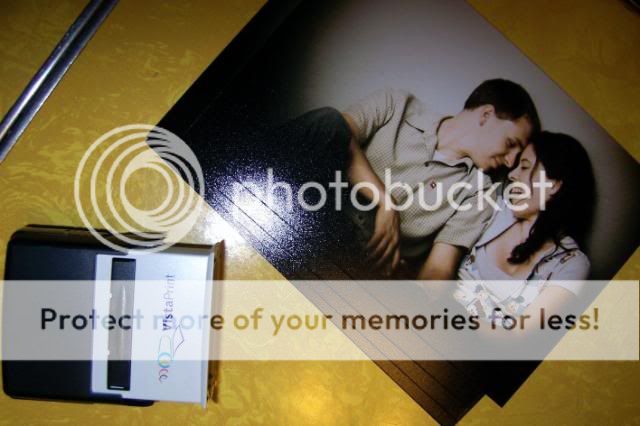
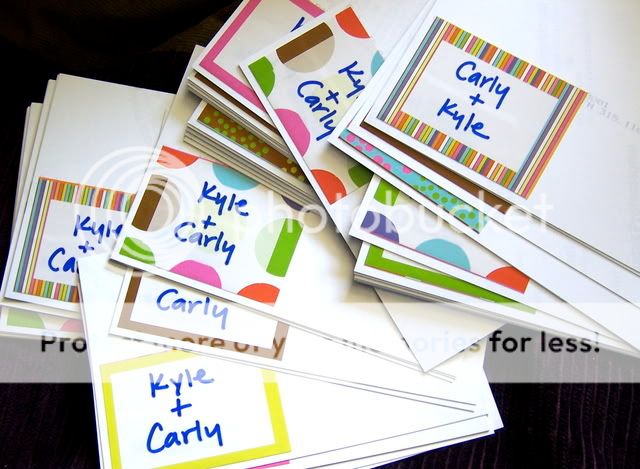
We also included a copy of our engagement picture. Originally we stamped our names on the back, but the ink smeared and ran, so we ended up covering them up with sticker gift tags from Target.
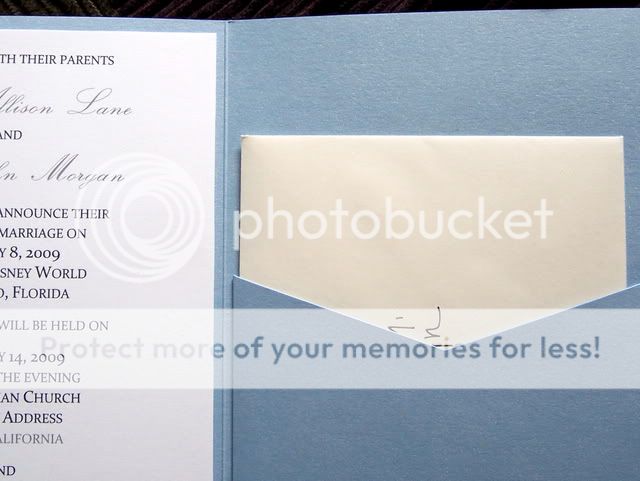
Guests who are invited to our WDW reception as well as the two "at home" receptions got a separate invitation, which was placed in the middle of the folder. To make them, I used a bunch of make-your-own greeting card kits. One in particular was just an standard piece of cardstock that had a fold running down the middle one way and a perforated edge running down the middle the other way. The idea is that you print out half-sheet size cards and then tear at the perforated edge to make two cards per sheet. I got them and then cut along the fold so that I had a bunch of cards with perforated edges running down the center fold.
Once I had all my landscape-style cards, I printed out a bunch of 4x5 photos from the negatives that the Roots gave us. Most of them were teacups and the castle, but I added a handful of the coaster photo because some people had requested it. I attached the photos to the front of the card using double-sided scrapbook tape.
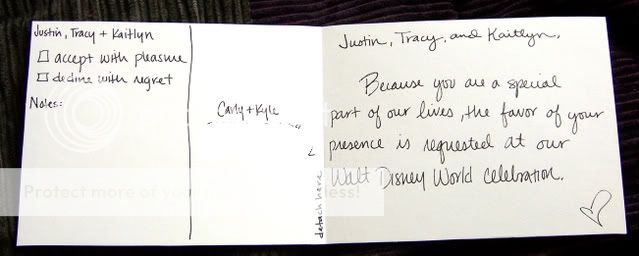
On the inside of the card I wrote a brief message stating that this was an invitation to our WDW celebration. I could have printed them all, but I thought that a handwritten invitation might be a little more personal. Of course, since I had to write out about fifty of them, I probably should have had them printed. Oh well.
On the other side I made a little postcard RSVP. The recipients simply need to detach the front of the card at the perforated edge and then send it back with their response.
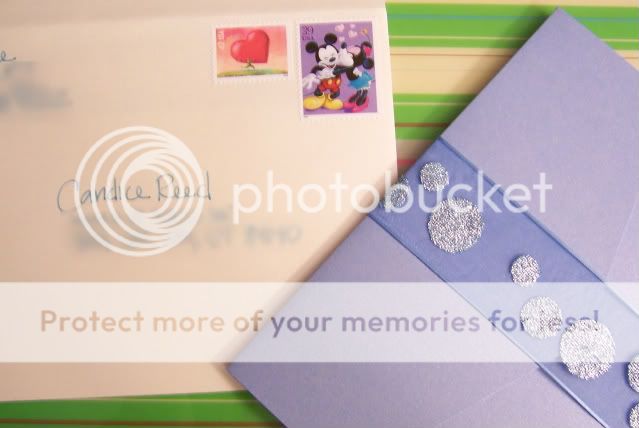
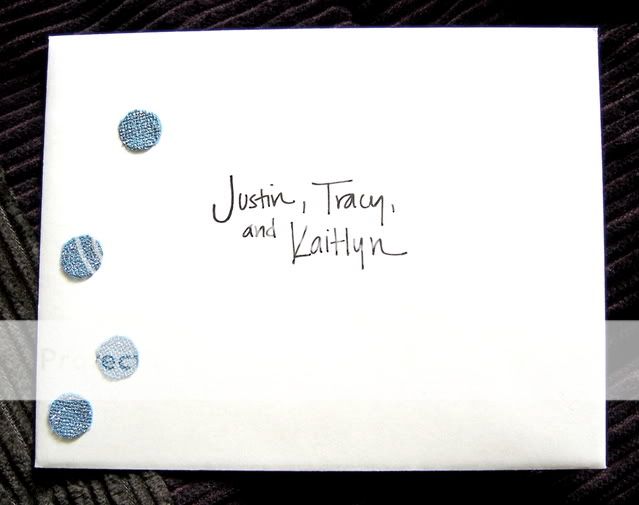
I had a ton of those little dots left over from cutting the Mickeys out of the ribbon, because I kept accidentally cutting out the smallest circles instead of the medium and large ones that I actually needed. I added a couple of the smallest circles to the outside of the envelopes to pull everything together.
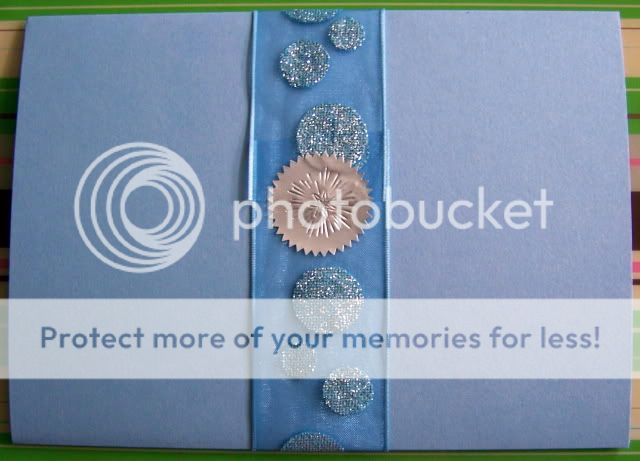
To finish the full envelopes, I wrapped a piece of the ribbon I used for the Mickey heads around the outside and sealed it with a Martha Stewart crafts sticker...
...before putting them into pearlized cream envelopes and hand addressing them with a blue sparkly pen. Ta da!
HALF INVITATIONS:
Totally bought a print-at-home kit at Target and used it for the people who are only invited to one of our three receptions.
I also cut costs by using Moo cards with our wedding address on them instead of engagement cards.
If you ask me, they're almost as cute as the other ones and I did these ones in about ten minutes!


 again!!!

") Aww. I neglect to do so much for my wedding, thank God for my Mom! You have the greatest and cutest ideas. I love it all!!
Aww. I neglect to do so much for my wedding, thank God for my Mom! You have the greatest and cutest ideas. I love it all!! 
 They were shots from the bridal tea at the GF. I told DH look it's my pictures
  I definitely don't mind that you used them. It's so funny to come across it in such a random way so many months later